Creamy Mushroom Pasta with Pinot Noir

Published On - October 30, 2025

By Amy TesconiAmy Tesconi

Comfort food. Nothing is better than a warm meal that fills you up and makes you feel at home. In our opinion, pasta is the reigning champion of comfort. A delicious, filling staple that can be dressed up, dressed down and made in to whatever you crave.

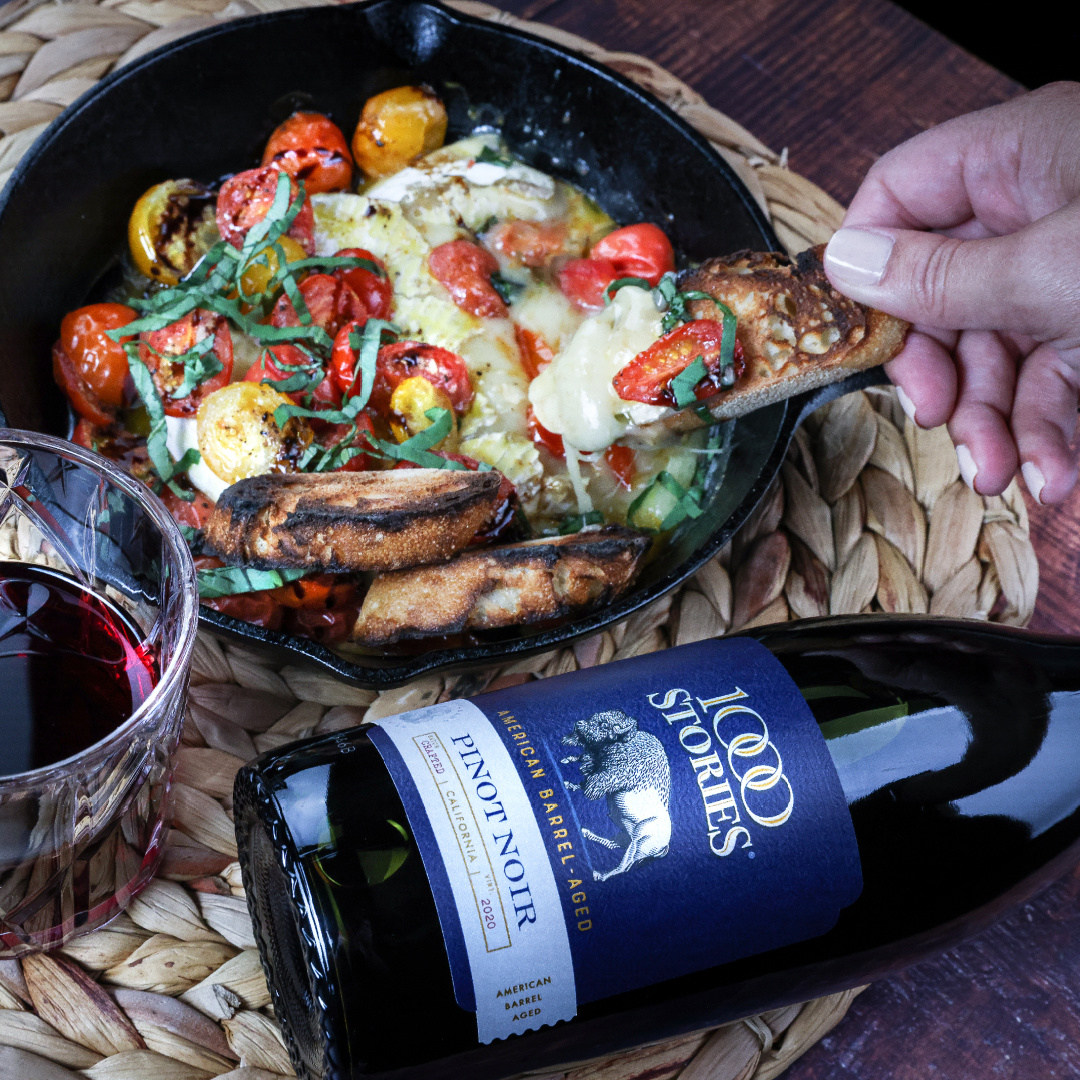
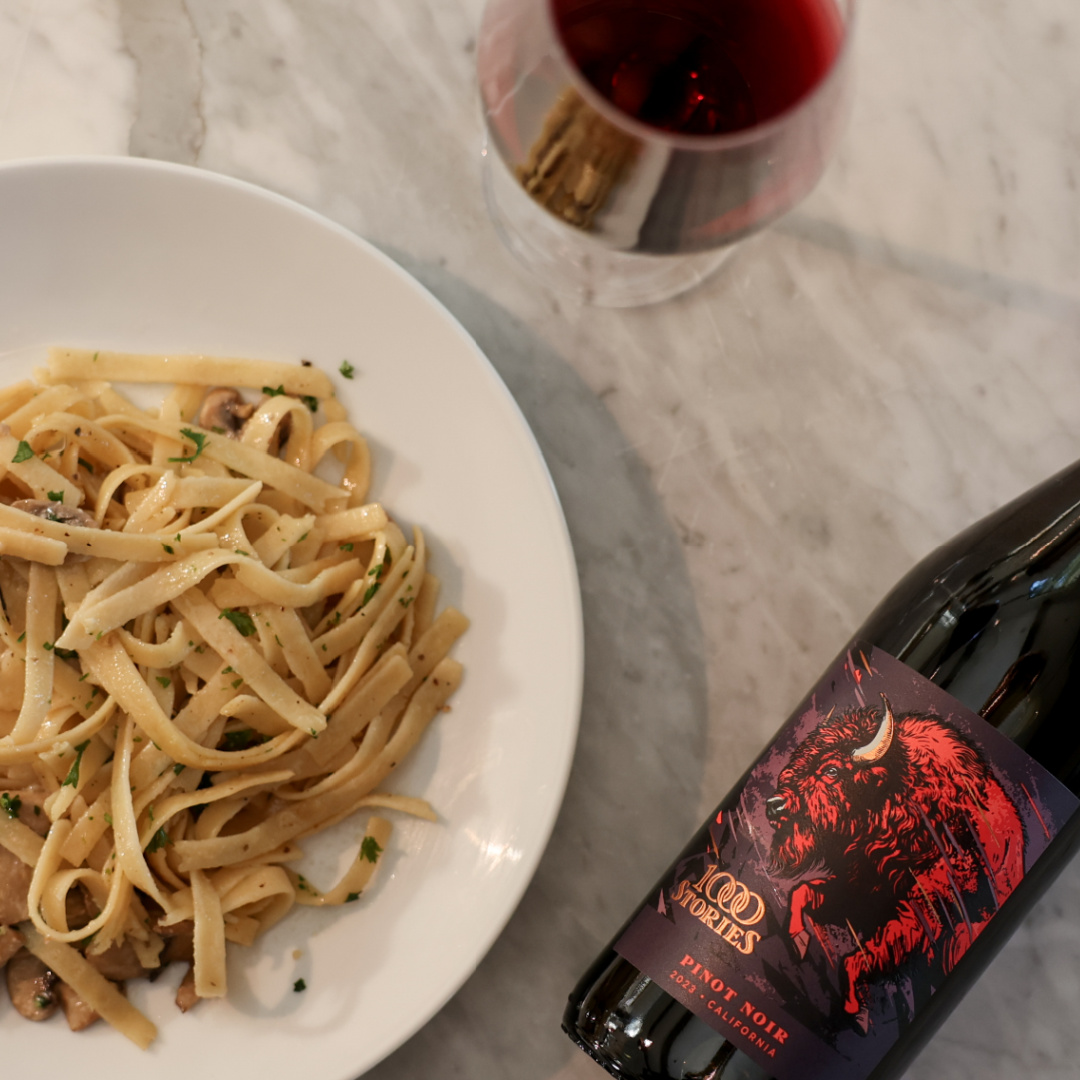
This recipe not only brings that warm feeling, but a perfect pairing for Pinot Noir. Mushrooms are often cited as a great match for Pinot as their earthy flavor aligns with the earthy notes present in many Pinots. The creamy flavors of this pasta also round out Pinot Noir’s red fruit offering and balanced acids. Maybe the best part? You can make this dish in under half an hour!

Grab a bottle of our Pinot Noir and make this crowd-pleasing pasta again and again this fall and winter. Also, look our for our Majestic Pinot Noir in a store near you!

Prep time: 10 minutes | Cook time: 12 minutes | Serves: 2

Ingredients:

  • 6oz fettuccine 
  • 2 tbsp unsalted butter 
  • 1/2 tbsp olive oil 
  • 10 oz mushrooms 
  • 2 garlic cloves 
  • 1/2 cup white wine 
  • 1/2 cup chicken broth/stock 
  • 3/4 cup cream 
  • 1/3 cup parmesan 
  • 1/2 tsp salt and pepper 
  • Extra parmesan (for serving)
  • Parsley, roughly chopped (optional)

Instructions:

  1. Cook pasta in salted water for 1 minute less than time per packet (start this midmushroom cook). Just before draining, scoop out 1 cup cooking water, then drain.
  2. Melt butter and heat oil in a large skillet over high heat.
  3. Add mushrooms and cook, stirring regularly. When they start to sweat, add a pinch of salt and pepper.
  4. When pretty golden (about 4 – 5 minutes), add garlic and cook until garlic is golden and mushroom is golden.
  5. Stand back and add wine (it will be steamy!!), stir, scraping the bottom of the skillet. Simmer rapidly until wine is mostly evaporated and winey smell is gone.
  6. Add broth, cream, parmesan, salt and pepper. Stir to dissolve parmesan and simmer for 2 minutes, stirring regularly.
  7. Transfer pasta into sauce, toss for 1 – 2 minutes until sauce thickens and coats pasta. If sauce gets too thick (rather than slick, see video), add a splash of reserved pasta cooking water
  8. Garnish with parsley and serve immediately with extra parmesan!

Notes

Pasta: Flat wide pastas are best for creamy sauces like this but any pasta will work just fine,short, long, normal or fancy. Use dried not fresh pasta.

Oil and Butter: Using a combo prevents butter burning and makes it easier to make mushrooms golden

Cream: Recipe will work with light, but obviously lacks the same amount of richness! ? Tosspasta at end with splash of pasta cooking water – the extra starch in the water will help makethe sauce thick like using full fat cream.

Parmesan: Either finely grate your own, or buy the finely shredded parmesan (the short very thin strands) Do not use store bought sandy parmesan or shaved, they will not melt.

Nutrition and Calories: We don’t know…It’s a lot. Have a salad for dinner tomorrow!

Recipe courtesy of RecipeTin Eats

Bacon-Wrapped Dates with Goat Cheese

Published On - October 2, 2025

By Amy TesconiAmy Tesconi

What’s the best recipe for a laid-back game day? How about one that’s simple, delicious and leaves your kitchen smelling like sweet dates and (fan favorite) bacon?

These bacon-wrapped dates with goat cheese are the perfect snack for an afternoon game, or a cozy night for two beside a fire. They are that perfect combination of sweet and salty cut with a bit of creamy goat cheese. AND they are naturally finger-food sized, so stick a toothpick in them and invite your guests to help themselves.

Pair these with our 16.5% Cabernet Sauvignon – a match far more worthy than anything you’ll find on the field.

Ingredients

  • 8 slices bacon (often thin bacon works better)
  • 16 dates
  • 4 ounces goat cheese
  • toothpicks

Instructions

  1. Preheat the oven to 350 degrees Fahrenheit. Slice the dates lengthwise on one side to create an opening. Remove the pit.
  2. Using a spoon, stuff a small amount of goat cheese into the cavity of each date and press the sides together to close.
  3. Cut the bacon slices in half. Wrap each date with a slice of bacon and secure with a toothpick.
  4. Arrange evenly on a baking sheet with raised edges (otherwise grease will get everywhere) and make for 10 minutes. Remove the dates and use the toothpick to turn each one so it’s laying on its side. Bake for another 5-8 minutes, until browned to your liking, and turn the dates to the other side and repeat. Remove from oven, place on a paper towel lined plate, and let stand for 5 minutes before serving.

Recipe from Pinch of Yum. Find it online HERE.

Upgrade Your Ribeye

Published On - September 16, 2024

By Amy TesconiAmy Tesconi

Few things pair with a crisp autumn evening as well as a warm fire, good friends and a glass of red.  Of course, a delicious ribeye ups the ante – assuming that it is grilled and dressed to bring it to its full potential.

Upgrade your Ribeye with this simple aioli truffle recipe from Chef Daniel – and serve alongside warm flatbread from the grill to hit peak-fall indulgence. 

Grilled Ribeye with Flatbread and Truffle Aioli Recipe

INGREDIENTS:
🍷1 garlic clove
🍷Zest of 1 lemon and juice
🍷2 egg yolk
🍷½ cup neutral oil like canola or grapeseed
🍷1 oz fresh black or white truffle or preserved truffle from a can
🍷Salt and pepper to taste
🍷12-16oz ribeye 

RECIPE:
For the flatbread, we suggest pizza dough from your local grocery or pizza shop.

Mixed pickles for garnish, I suggest sourcing giardiniera

This recipe can be made in a mortar and pestle or a food processor. Both yield the same result but the mortar and pestle is a bit more work and you will need to add the oil more slowly to make sure you don’t break the sauce. If using a mortar and pestle, smash garlic to a paste. If using a food processor, grate garlic with a microplane. Add lemon juice and egg yolks. Slowly stream in oil making sure it is starting to emulsify. Continue to add oil until the sauce starts to thicken. If it is becoming too thick before using all the oil, you can add a splash of water. Season with salt, pepper, and truffle

Grill ribeye over a high temp grill. Getting a sear on both sides but turning often to not overcook. Cook to desired temp. We recommend pulling at 130F and allowing it to rest. While the steak rests using flour, roll out your pizza dough with a rolling pin. Not too thin, not too thick. Grill on one side until you have dark grill marks. Flip and do the same on the other side. Slice Ribeye and plate everything in a family style matter for everyone to enjoy – right alongside a glass of Zinfandel, Cabernet Sauvignon or our Red Blend.

Chill Wine Faster Than a ‘Fridge

Published On - August 20, 2024

By Amy TesconiAmy Tesconi

You’ve been there: it’s hot out. Guests are on the way and you suddenly realize you’ve forgotten to chill the white wines. Before you start shoving bottles in the freezer, take a deep breath. You can confidently greet your guests and offer them a drink – we have a simple method to cooling down those summer sippers in less than 15 minutes. 

Step 1: Grab an ice bucket – it should be just large enough to easily fit all bottles standing on the base of the bucket

Step 2: Fill it half-way with ice 

Step 3: Add water – enough that the ice is mostly suspended. Your wines will chill much faster in ice cold water than in the dry refrigerator or resting on solid ice cubes

Step 4: Add Your wine bottle(s) – they will be cold and refreshing in less than 15 minutes

Step 5: Pour a couple glasses and enjoy

We told you it was easy!

Spice it up with Mulled Wine

Published On - February 26, 2024

By Amy TesconiAmy Tesconi

March 3rd is National Mulled Wine Day and we are seizing the day to tackle a wine-related challenge. If you’ve ever made mulled wine you probably know it can be tricky to get just right. In our opinion, the best mulled wines still taste like wine – just with warm, wonderful fruit and spice flavors and a smell that will have you wishing for a few more weeks of winter.

Here are our tips for making a mulled wine that won’t make you sorry you used a good bottle of red:

Choose the right wine: Big, bold wines make the best mulled wine. We recommend going with Zinfandel or Cabernet Sauvignon

Less is more when it comes to fruit and spice: Yes, the spices are the point but you would be surprised how quickly “just right” becomes “too much” – add slowly

Take your time and let the wine heat slowly: Steaming is good, boiling is bad. You don’t want it getting syrupy or burning off all the alcohol

Traditional Mulled Wine:

Ingredients:

  • 1 orange
  • 1 bottle of Zinfandel or Cabernet Sauvignon
  • ¼ cup brandy
  • Honey – to your taste – no more than 2 TBL
  • 3 whole cloves
  • 2 star anise
  • 2 cinnamon sticks
  • Cranberries (optional)

Instructions:

  1. Slice the orange into rounds and place into the bottom of a large pot or Dutch oven. Squeeze the juice from the ends of the orange over the rounds
  2. Pour the wine, brandy and honey into the pot. Add the cloves, star anise and cinnamon sticks
  3. Warm over medium heat until slightly steaming. Reduce heat to low when bubbles form. Keep an eye on it!
  4. Taste carefully and add additional honey if the mixture is not yet sweet enough. The longer you leave the wine on heat, the spicier it will become. If your initial taste needs more spice, leave it on for an additional five minutes and check again.
  5. Add cranberries (optional)
  6. Remove from heat and cover. You can put it back on low heat if it cools while you are serving. Remember, the longer the wine sits on the spices, the spicier it will become. Remove the cloves, anise and cinnamon if you would like to avoid this outcome.

Remember to share!

Apple Quinoa Salad with roasted chicken

Published On - September 21, 2023

By Amy TesconiAmy Tesconi

Fall is on the horizon and we are getting outdoors to soak up every bit of remaining good weather and impressive colors. And while we aren’t quite ready to let go of our fresh summer salads (or white wines), we are craving something a bit heartier, something to fuel us through the changing season and the wine grape harvest.

This recipe combines crisp apples, tender roasted chicken and healthy quinoa for a hearty but healthy autumn meal. It also happens to be a great match for our American Barrel-Aged Chardonnay – a wine that was practically made for this season. With bolder flavors of marzipan, clove and marshmallow, this is not your every day Chardonnay. It transitions well from a warm day to a cool night and gives weight and flavor that satisfies both red and white wine enthusiasts.

Apple Quinoa Salad with Roasted Chicken

Serves 4

Ingredients:

1 teaspoon toasted sesame oil

1 tablespoon extra-virgin olive oil 

2 teaspoons smoked paprika

Sprinkle sea salt & black pepper 

1 lb. chicken breasts

½ cup quinoa

4 cups favorite mixed greens: little gems, mixed greens, baby arugula

2 green apples, sliced

¼ cup fresh mint leaves

¼ cup toasted walnuts

Dressing:

1/3 cup tahini

¼ cup water

2 teaspoons honey

1 teaspoon toasted sesame oil

1 teaspoon apple cider vinegar (add more for a “tarter” dressing)

Salt and pepper to taste

Directions:

1. Preheat the oven to 425ºF and line a baking tray with parchment paper.

2. Add toasted sesame oil, olive oil, paprika, salt and pepper in a small bowl and mix to combine. Spread over the chicken. Bake in the oven for 22 to 25 minutes, or until the chicken is cooked through.

3. Meanwhile, cook the quinoa according to the package directions. Once cooked, fluff with a fork and let it cool.

4. Make the dressing by whisking the tahini, water, apple cider vinegar, toasted sesame oil honey together. Season with salt and pepper.

5. Thinly slice the cooked chicken. Divide the quinoa, arugula, apple, and chicken evenly between plates. Top with the dressing, mint and walnuts. Enjoy!

Recipe Notes:

Leftovers: Refrigerate in an airtight container for up to two days.

Serving Size: One serving is equal to approximately three cups.

More Toppings: Add red onion, feta or goat cheese

Make it Vegan: Omit the chicken or use chickpeas, tofu, or tempeh instead.

Chimichurri: Tradition with a Kick

Published On - July 5, 2023

By Amy TesconiAmy Tesconi

Is there anything better than a great steak grilled to your individual taste and paired with your favorite bold red wine? For those who have mastered the art of grilling, searing, roasting or pan-frying the perfect cut of beef, it can feel like your work is done here. 

Enter chimichurri, a vibrant green sauce that is a staple of Argentine and Uruguayan cuisine. Chimichurri is used generously as a marinade or condiment for grilled meats, most commonly steak. It gives a fresh, flavorful and slightly acidic lift to red meat, but is also commonly added to chicken, eggs, potatoes or vegetables. 

There are plenty of variations on this popular sauce, but traditionally chimichurri is made with fresh parsley, garlic, oregano, red wine vinegar, and olive oil. It is believed to have originated in the region of Argentina where it was originally used by gauchos, or Argentine cowboys, to tenderize meat, add flavor and help preserve it. Try kicking up your next cookout with this delicious side, and don’t forget to include a bottle of our Red Blend for a juicy, delicious summer evening.

Basic Chimichurri Recipe: 

  • 1 cup of fresh parsley, finely chopped – the fresher the better! 
  • 3 cloves of garlic, finely minced
  • 1 teaspoon of dried oregano
  • 1 tablespoon of red wine vinegar
  • 1/2 cup of olive oil
  • Salt and pepper to taste

Combine all ingredients in a bowl and whisk until well combined. The best part is adjusting the amount of each ingredient to create your own signature recipe. Here are a few other common variations that you might try:

  • For a spicier chimichurri, add red pepper flakes
  • Try swapping the red wine vinegar for fresh lemon juice – the acidic effect is similar but some prefer the lemon flavor, particularly for use with chicken
  • Add ½ cup of fresh cilantro for a more bright, herbaceous sauce

Chimichurri can be made ahead of time and stored in the refrigerator for up to 2 weeks. It is best to bring it to room temperature before serving.

Grilled Caprese Brie

Published On - June 6, 2023

By Amy TesconiAmy Tesconi

There’s nothing like a caprese salad to announce “summer is here!” The bright tomatoes paired with fresh basil and cheese are best enjoyed in the summer, when gardens are going strong and neighbors have plenty to spare. We can’t claim to be caprese traditionalists, though. We take the same approach to summer staples as we do wine: we like to do it a little different, putting a bold twist on a classic idea.

Our recipe for caprese eliminates the mozzarella and replaces it with a creamy, decadent brie that is perfect for entertaining and perfect for pairing with bold wines, like our American Barrel Aged Pinot Noir. Of course, our recipe also includes firing up the grill, because who can resist melted brie and roasted tomatoes? 

Read the recipe to the end to get a few additional tips. Enjoy!  

Grilled Caprese Brie

Serves 10-12

Ingredients

1 ½ cups cherry tomatoes, halved

2 cloves garlic, minced

1/3 cup extra-virgin olive oil

Sprinkle pink Himalayan salt

Freshly ground black pepper

Pinch red pepper flakes

1 large wheel brie

Balsamic glaze, for drizzling

¼ cup thinly sliced basil, for garnish

1 baguette, sliced and toasted, for serving

Directions

1. In a large bowl, combine cherry tomatoes and garlic, then toss with olive oil. Season, to taste, with salt, pepper, and red pepper flakes.

2. Place brie in a 10” cast iron skillet then top with tomato mixture. Place over hot grill and cook until brie is melted, about 20 minutes. Keep in mind, just because the brie isn’t oozing, doesn’t mean it’s not hot and ready. To test, poke sides of the wheel with a knife to see if cheese is melty inside, although it will most likely start to ooze out on it’s own! 

3. Remove from grill and drizzle with balsamic glaze and garnish with basil. Serve warm with toasted baguette slices.

Recipe Notes:

No Grill: Preheat oven to 350. Add brie and tomato mixture to cast iron and bake in the oven for 20 minutes. Turn on the broiler at the end for 2 minutes to brown the cheese and tomatoes.

Grilled to perfection

Published On - May 18, 2023

By Amy TesconiAmy Tesconi

If the mouth-watering aromas around the neighborhood are any indication, it’s time to get outside and start grilling. From charcoal loyalists to wood pellet perfectionists, it seems everyone has an opinion about how to get the best flavor out of your grilled meats and veggies (our best tip: add a glass of your favorite wine). 

Like wine, the best grill is the one that you most enjoy cooking on and eating from. We’ve rounded up some of the most popular grills and some helpful tips for an afternoon cookout that will keep your friends and family inviting themselves over all summer long. 

Type of grill:

  • Charcoal – Charcoal grills are the most traditional type of grill. Charcoal gives grilled food a smokey flavor and they are relatively easy to use. They also require no electricity, gas or propane source, so depending on their size, they can be easily transported on a camping trip or to a tailgate party. It can be difficult to control the temperature on a charcoal grill, which generally means that it takes some practice to grill the perfect meal.
  • Gas – Gas grills use either a propane tank or an outdoor gas line to provide gas. Unlike charcoal grills, they light and pre-heat easily and it is easy to control the temperature by turning the gas up or down. While they tend to be more expensive than charcoal grills, the ease of use of a gas grill make them an attractive option. 
  • Pellet grill – Pellet grills and smokers have gained in popularity over the past few years. They give that traditional smokey flavor, and burn at a lower temperature so burning food is not as common as it is on charcoal. 
  • Ceramic Egg – The ceramic egg or Kamado grill is kind of an “if you know, you know” proposition. Owners of these pricey grills swear by them. Invented in China and eventually marketed in Japan, these grills are modeled after ancient earthenware cooking ovens, and can sear, roast, bake and smoke all in one grill. 

Here are a few tips to get the most out of your grill:

  • Clean your grill before each use. We recommend using a half-onion on a hot grill – using BBQ tongs. Do not use a wire brush as the bristles can come off on the grill and stick to food later.
  • Preheat your grill to ensure that your food cooks evenly.
  • Use a meat thermometer to determine when grilled meats are ready. This is the best way to ensure that your food is cooked to a safe temperature.
  • Don’t overcrowd your grill. Grill in batches. This will prevent your food from cooking evenly.
  • Grill food over indirect heat. This will help to prevent your food from burning.
  • Let your food rest before serving. This will help the juices to redistribute and will result in a more tender and flavorful meal.

And of course, pair your grilled fare with your favorite wines. We love a good glass of Zinfandel – it’s a great sipper while grilling and a the bold, fruit flavors are always a good match for smokey foods.